As an Amazon Associate, we earn from qualifying purchases. Some links on this site are affiliate links at no extra cost to you. Our recommendations are based on thorough research and editorial judgment.

How To Troubleshoot Common Audio Equipment Problems?
To troubleshoot common audio equipment problems, we should start with a visual inspection of all components. Look for cracks or corroded cables. Next, verify the signal path by testing each segment and checking impedance. It’s essential to validate power settings by measuring voltage and ensuring proper connections. If noise or distortion arises, we examine audio settings and use shielded cables for noise reduction. By following these steps, we can enhance our audio performance and avoid future issues. More insights await!
Key Takeaways
- Conduct a visual inspection for physical damage to equipment, ensuring all components are intact and functional.
- Map the signal path and isolate segments to identify any faults or signal losses.
- Measure and verify power input voltage and check impedance matching for optimal performance.
- Troubleshoot noise and distortion by identifying the issue type and enhancing signal integrity with quality cables.
- Establish a routine maintenance schedule to clean equipment and ensure proper ventilation and functionality.
Visual and Physical Inspection
You may be interested


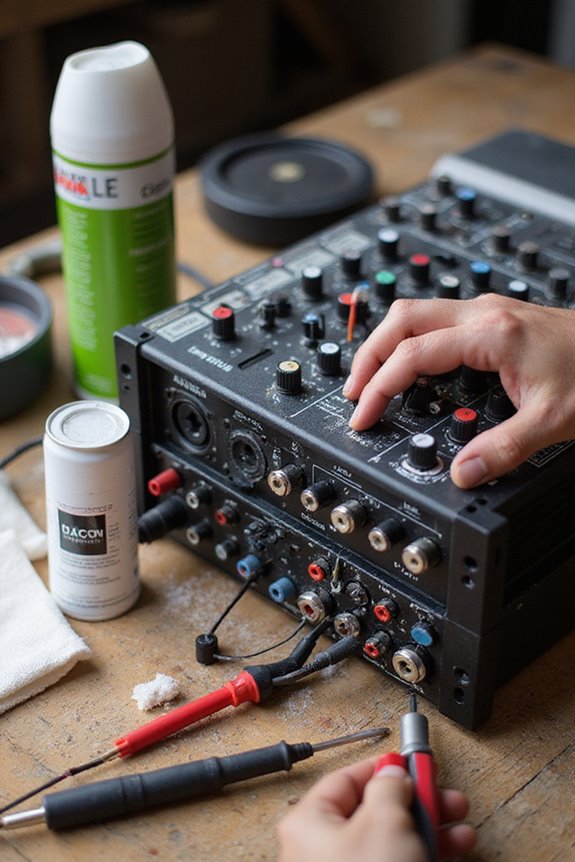
When it comes to troubleshooting audio equipment, a thorough visual and physical inspection is our first line of defense. We start by using effective inspection techniques to assess the equipment’s exterior for cracks, dents, or corrosion. It’s essential to examine the acoustic mesh and speaker cones for any damage that could impact equipment functionality. Cables should be checked for fraying or loose connections to avoid drastic performance drops. All knobs and buttons must operate smoothly since even a small issue can hamper our system’s efficiency. Finally, we don’t forget to guarantee proper ventilation to prevent overheating. Additionally, ensuring that the amplifier’s impedance compatibility aligns with the speakers can prevent potential damage and enhance performance. By meticulously scrutinizing these elements, we can greatly enhance the reliability and longevity of our audio gear.
Signal Path Verification and Isolation

To effectively troubleshoot audio equipment, we need to map out the signal path and isolate potential issues within it. This involves understanding the route audio travels—from microphones through the preamps and interfaces to the outputs. We can visually layout signal routing on paper, ensuring every component is accounted for. Next, we isolate segments by using known-good cables while testing each section individually. By checking impedance matching and injecting test tones, we can confirm signal presence. If we encounter issues like distortion or noise, we might mute devices temporarily or bypass them to identify faults. Consistent use of audio testers further assists in verifying signal integrity throughout this critical process, ultimately leading us to a clear resolution. Additionally, maintaining low total harmonic distortion is essential for achieving high-quality audio output.
Recommended Products

HIGHLY SOPHISTICATED CD/SACD PLAYER: With Denon's Advanced AL32 Processing Plus and ultra-precision 192kHz/32bit D/A converter dac, the Denon DCD-1700NE Player supports high-res audio files up to 192kHz/24bits recorded on DVD-R/RW and DVD+R/RW discs

Detect if the wireless network inside the suspect residence is OPEN or secured
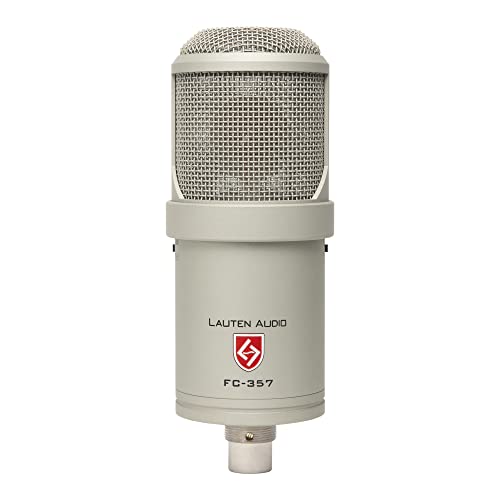
Our custom designed 35mm capsule is hand-tuned to deliver vintage sound with just the right amount of air. This dual diaphragm design captures sounds with depth, realism and exceptional transient response.
Power and Settings Validation

Validating power and settings is a key step in troubleshooting audio equipment, following our exploration of signal path verification. First, let’s measure the voltage at the power input; it should be within the 12–14.4 volts range for car amplifiers. Don’t forget to check if the remote turn-on wire voltage is active when our control unit is powered. It’s important to verify impedance matching, ensuring the speaker settings align with the amplifier specifications. Gain and volume levels should be set appropriately to boost signal without muting. Finally, let’s confirm our equipment isn’t engaged in protect mode by inspecting connections and ensuring everything is secure. Regularly checking these settings will keep our audio gear running smoothly. Additionally, ensuring proper impedance compatibility between your speakers and amplifier can prevent overheating and distortion.
Recommended Products

Pre-In with 8 stereo RCAs interconnection for after-market sources with PRE-OUT outputs

USE PHONE COMPANY LINES or VoIP PHONE LINES - With QB1 you have the option to connect up to (4) standard analog (cable/telephone company) phone lines and/or (10) VoIP Lines (SIP Trunks). The QB1 system supports up to (20) individual phone system extensions.
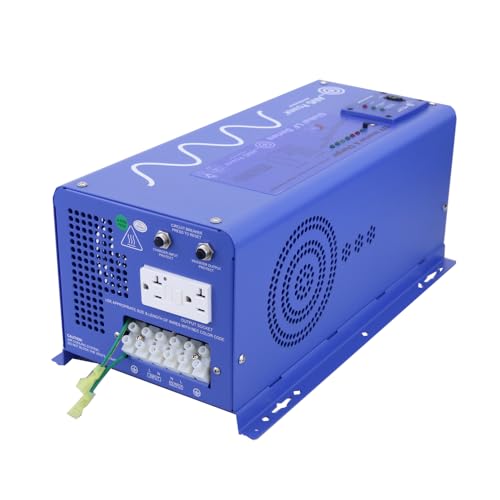
High Efficiency 24V Power Platform: Designed with a 24V DC input, reducing power loss and improving system efficiency in larger renewable energy or battery bank installations.
Noise and Distortion Troubleshooting

Understanding noise and distortion in audio equipment is essential for achieving the best sound quality. To effectively troubleshoot, we first identify the type of issue. Static sounds often indicate noise, typically due to cabling or wireless interference, while continuous clipping suggests distortion from overload. We can enhance noise reduction by using high-quality, shielded cables and making sure connections are secure and clean.
Regularly checking our amplifier and mixer settings is important for distortion prevention; adjusting gain or equalization can prevent clipping. Additionally, we should keep our audio software updated and monitor system resources to prevent glitches. By taking these steps, we can guarantee clearer, more reliable audio for our projects. Moreover, selecting amplifiers that support advanced audio formats can also help in reducing distortion and improving overall sound quality.
Recommended Products
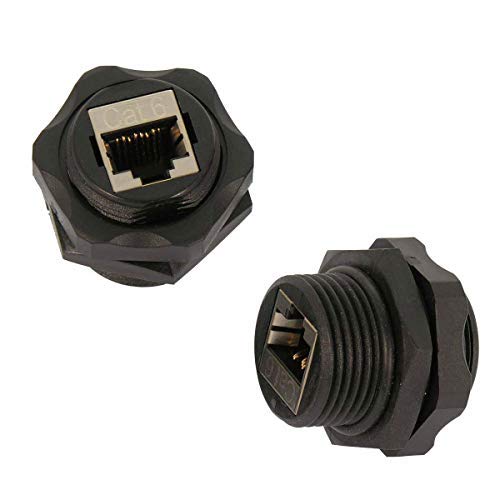
Female Connector: The Shielded Industrial Panel Mount Is A Female/Female Couple.

Advanced Water Blocking Technology : This submersible pump cable uses internal and external PPT water-blocking layers, ensuring maximum protection against water penetration for long-term underwater reliability

<b>Price For:</b> Each
Maintenance and Preventive Care
When it comes to keeping our audio equipment in peak condition, regular maintenance and preventive care play a critical role. We should establish a routine cleaning schedule—wiping surfaces with soft cloths and using compressed air for internal dust. Remember to clean projector filters and speaker grilles; this helps maintain image clarity and sound quality.
Additionally, following manufacturer guidelines for calibration and regularly checking settings can guarantee ideal performance. Let’s not forget about proper ventilation; keeping airflow unobstructed helps avoid overheating. We should also practice effective cable management to prevent hazards. Finally, using surge protectors and testing backup systems will protect our gear from power issues. Investing time in preventive maintenance today means fewer troubleshooting headaches tomorrow. Furthermore, maintaining waterproof ratings for your equipment can enhance durability and reliability in various environments.
Advanced Troubleshooting Tools
Although tackling audio equipment issues can be intimidating, having the right advanced troubleshooting tools at our disposal can simplify the process considerably. When we employ digital multimeters or volt-ohm-amp meters, we’re able to test for shorts, measure voltage, and verify continuity in our cables seamlessly. Audio and tone generators likewise help us trace signal paths and identify where issues lie by producing standardized frequencies. Oscilloscopes allow us to visualize signal issues in real-time, pinpointing waveform distortions effectively. For hands-on troubleshooting, portable generator/monitor units let us inject signals and listen at key points, enhancing our equipment calibration efforts. By incorporating these advanced troubleshooting techniques, we can elevate our understanding and efficiency.
Recommended Products
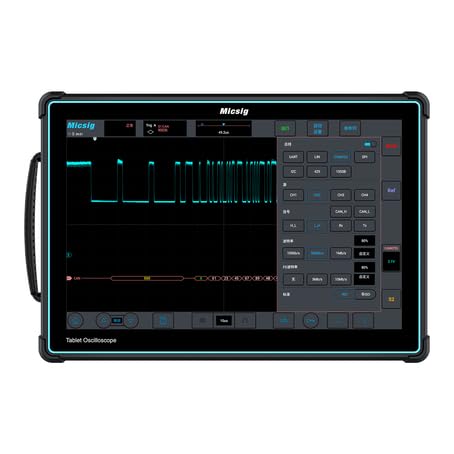
Enhanced Performance: The ETO3504 features a 350MHz bandwidth, 4 analog channels, up to 3GSa/s sampling rate, and 360Mpts memory depth.

Bandwidth:100 MHz Digital Oscilloscope - 12 bit,2 GSa/sec

【Core Performance】100 MHz mixed signal oscilloscope with 4 analog channels + 16 digital inputs (LA probe required), max 8 GSa/s sample rate and standard analog memory 100 Mpts (single‑channel) for long, detailed captures.
Common Audio Signal Issues
Whether we’re a sound engineer, a hobbyist, or just someone who enjoys quality audio, we’ve all encountered common audio signal issues at some point. One frequent culprit is the speaker cone condition. If it’s damaged, we might experience distortion in the sound. Similarly, using incorrect audio cable types can lead to partial sound loss or a completely silent output. We should also check for loose or damaged connections, as they frequently cause crackling audio. Ground loops can create constant humming, while electromagnetic interference often leads to buzzing sounds. By keeping our cables in good shape and ensuring proper connections, we can greatly improve our audio experience. Let’s tackle these issues together, one step at a time!
Proper Component Setup and Configuration
Setting up our audio components correctly is crucial for achieving the best sound quality, as even minor errors can lead to disappointing results. First, let’s verify our component compatibility by checking that all our devices share the same connectors and signal types. We should use quality cables—like XLR for microphones and TRS for mixers—to reduce noise and interference. It’s essential to assign each device to its own mixer channel, adjusting gain levels appropriately. Additionally, positioning powered speakers at ear level and away from walls optimizes sound dispersion. Regularly inspecting our cables for wear can prevent connectivity issues, guaranteeing we maintain the integrity of our audio experience. Following these steps, we’ll have a reliable and high-quality setup.
Recommended Products
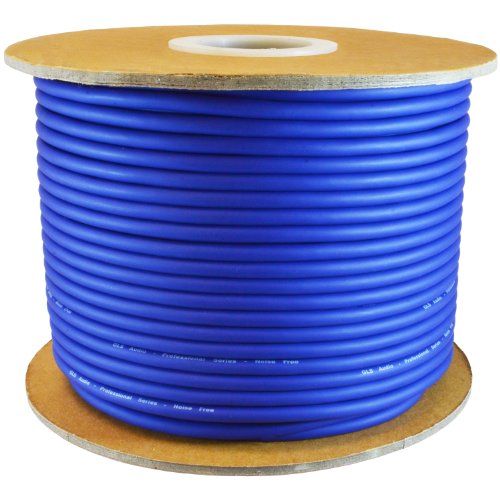
High Quality Audio: Experience superior sound quality with our professional-grade mic cable, designed for audio enthusiasts and professionals alike

High-Fidelity Sound Quality: The internal wire structure of the microphone cable uses a copper core high-density braided shield to achieve a high degree of anti-interference effect. Ensure clear reproduction of vocals and instrumental details, and present a natural and low-noise professional sound quality

XLR Microphone Cable: XLR microphone cable is constructed with high-purity copper and covered with double shielding. To obtain high-quality analog signals, the balanced analog audio interface uses two channels to transmit signals with the same signal but opposite phase. The receiving equipment subtracts these two sets of signals and the interference signal will be canceled.
Frequently Asked Questions
What Are Signs of Audio Equipment Aging or Deterioration?
We should watch for signs of our audio equipment aging, like fuzzy sound or crackling noises. If we notice these issues, it’s a strong indication that our devices might need attention or replacement soon.
How Often Should I Perform Maintenance on Audio Gear?
Like fine instruments, our audio gear demands regular care to resonate perfectly. A well-structured maintenance schedule guarantees longevity, recommending weekly inspections and monthly updates. Let’s nurture our equipment together, guaranteeing it sings beautifully for years to come.
Can Environmental Factors Affect Audio Performance?
Absolutely, we’ve noticed environmental factors can considerably affect our audio performance. Sound interference from high ambient noise levels and inadequate acoustic treatment can muddy our sound. Let’s prioritize our space to enhance clarity and enjoyment together.
What Should I Do if My Audio Device Is Under Warranty?
If our audio device’s under warranty, we should follow the warranty process: gather proof of purchase and contact customer service for product replacement. Let’s make certain we’ve got everything ready for a smooth claim experience!
How Can I Safely Store Audio Equipment Long-Term?
When it comes to safely storing our audio equipment long-term, let’s prioritize proper storage and equipment protection. We should clean, label, and keep everything organized in a cool, dry space to guarantee longevity.